How To Install Wood Fence Post Caps
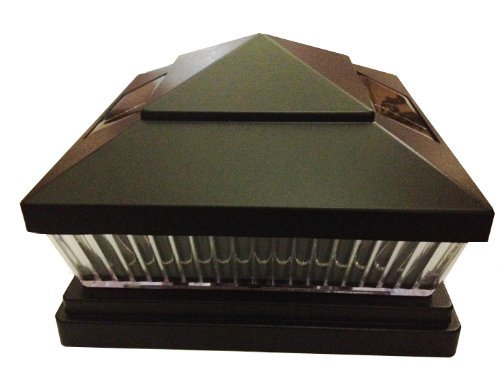
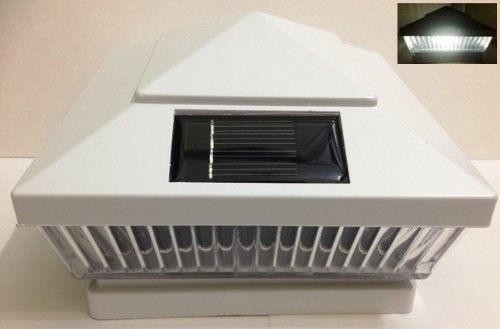
Special Cheap Web 8 Pack Solar Fence Post Cap Lights Black Semi Gloss Textured Finish Cap Vertical Lined Clear Lens White Led Fit On 5x5 Vinyl Pvc Or Wood Posts Green Natural Solar Tips Shops

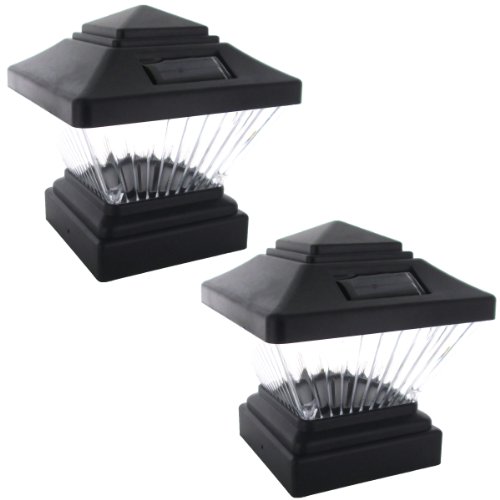
8 Pack Solar Black Post Cap Lights For 6 X 6 Vinyl Pvc Or Wood Posts With White Leds Green Natural Solar Morrisgeloisezay

Top 9 Most Popular Decorative Fence Post Caps List And Get Free Shipping Cfnbc27i

Pine Top 511 0007 Led Solar Powered Plastic Fence Post Cap Light White Landscape In Ground Lights Jtvbmzts5

Top 9 Most Popular Decorative Fence Post Caps List And Get Free Shipping Cfnbc27i

Big Promotion For Fence Post Led Solar And Get Free Shipping Light Bulb Ie22
Repeat the waxing process every three to six months as needed.
How to install wood fence post caps - We recommend reapplying the finish annually to preserve the wood s natural beauty and protect it from the elements. Step 3 place the post cap square. Refinish wooden post caps whenever you refinish your deck. Installing wooden fence posts solidly bracing your fence posts will help them stand up to the elements in addition to any pressure your livestock will put on.
Fence post caps come in a wide variety of styles and sizes. For glass post caps apply car wax or furniture polish to the copper wrapped solder before you install the caps. The sawn off ends of the fence post are vulnerable to moisture. This will prevent oxidation.
Now set a firm tall and steady board to the table saw fence. If your post cap has a wood base apply a high quality exterior finish to all wood areas before installation. Apply to all wood areas including the underside of the cap before installation. Consider these precautions if you live in a damp climate.
Deckorators metal post caps come with a layer of lacquer for protection. Installation post caps to attach each post cap style to the post apply an. Bevel the top of the fence post to a 45º angle to encourage rain runoff or plan on installing a post cap. Go about it by placing the 2 inch sides of your personalized post caps on the surface of the table saw after which fasten a piece of scrap wood to be used as a backer board to a respective side of the square.
As with all wood products we recommend that you coat the wood portion of the post cap with a high quality exterior finish to preserve the wood s natural beauty and ensure a lifetime of enjoyment. Treat the two ends with a non water based brush on wood preservative such as copper naphthenate.

Top 10 Largest Fence Cap Light Brands And Get Free Shipping List Led U65
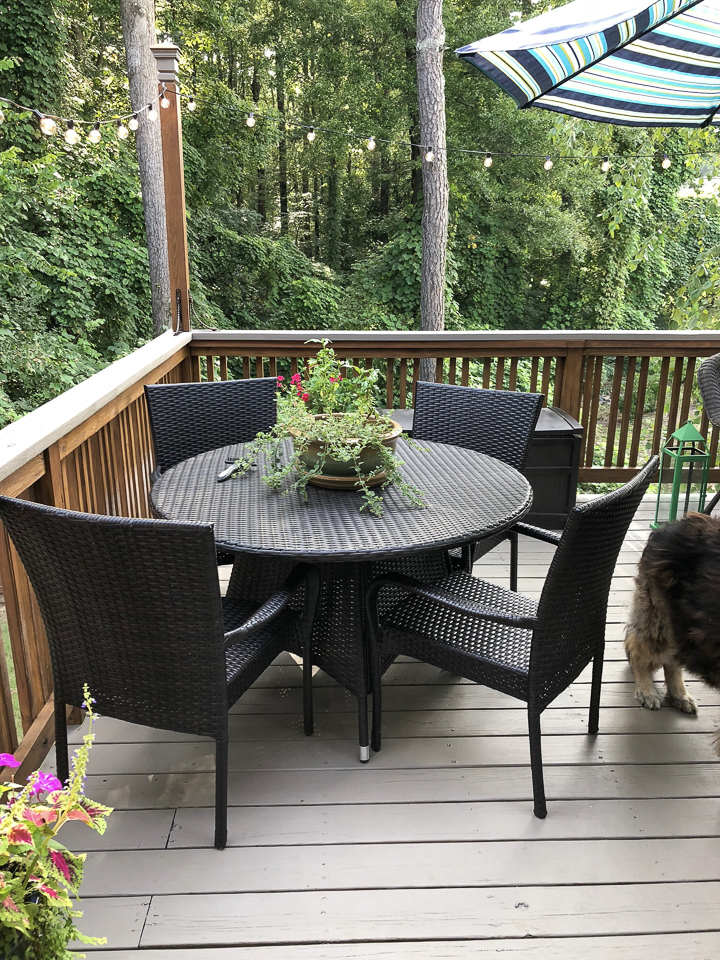
Adding Patio String Lights To The Deck Southern Hospitality

Top 8 Most Popular Fence Post Clips Round Ideas And Get Free Shipping Kk5b54d3
Sale 2 Pack Solar Powered Black Outdoor Garden Deck Dock 4x4 Pvc Fence Post Light Look Check Price Salemango21
Buy Used Classy Caps Sl082 Imperial Aluminum Cap Solar Led Post Light Bivgmpcbdq
12 Pack Solar White Post Cap Lights For 6 X 6 Vinyl Pvc Or Wood Posts With White Leds Green Natural Solar Friddsyodorovads

Best Top 10 Post Cap Light List And Get Free Shipping 0ldic4h3

Top 8 Most Popular Concrete Fence Ideas And Get Free Shipping A928

Big Promotion For Fence Post Led Solar And Get Free Shipping Light Bulb Ie22

Top 8 Most Popular White Fence Posts List And Get Free Shipping A883
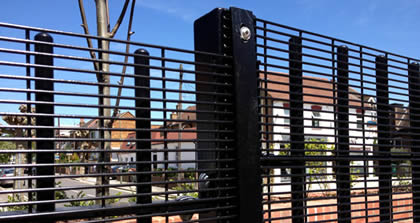
Products Cenky High Security Fencing Company

Big Promotion For Fence Post Led Solar And Get Free Shipping Light Bulb Ie22

Best Post Deck Cap Ideas And Get Free Shipping A528

Top 9 Most Popular Post Cap Square List And Get Free Shipping 08dik5b0

